Configuring the header bar
We've seen how to configure the header title already, but let's go over that again before moving on to some other options — repetition is key to learning!
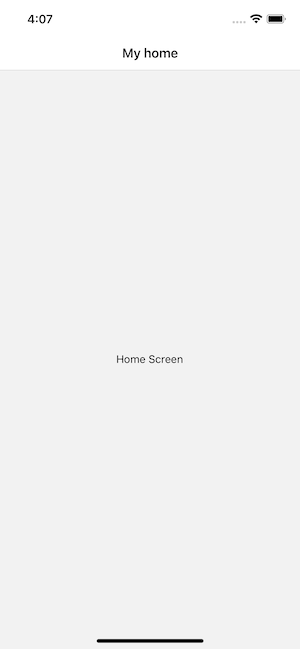
Setting the header title
A Screen component accepts options prop which is either an object or a function that returns an object, that contains various configuration options. The one we use for the header title is title, as shown in the following example.
function StackScreen() {
  return (
    <Stack.Navigator>
      <Stack.Screen
        name="Home"
        component={HomeScreen}
        options={{ title: 'My home' }}
      />
    </Stack.Navigator>
  );
}
Using params in the title
In order to use params in the title, we need to make options prop for the screen a function that returns a configuration object. It might be tempting to try to use this.props inside of options, but because it is defined before the component is rendered, this does not refer to an instance of the component and therefore no props are available. Instead, if we make options a function then React Navigation will call it with an object containing { navigation, route } - in this case, all we care about is route, which is the same object that is passed to your screen props as route prop. You may recall that we can get the params through route.params, and so we do this below to extract a param and use it as a title.
function StackScreen() {
  return (
    <Stack.Navigator>
      <Stack.Screen
        name="Home"
        component={HomeScreen}
        options={{ title: 'My home' }}
      />
      <Stack.Screen
        name="Profile"
        component={ProfileScreen}
        options={({ route }) => ({ title: route.params.name })}
      />
    </Stack.Navigator>
  );
}
The argument that is passed in to the options function is an object with the following properties:
navigation- The navigation prop for the screen.route- The route prop for the screen
We only needed the route prop in the above example but you may in some cases want to use navigation as well.
Updating options with setOptions
It's often necessary to update the options configuration for the active screen from the mounted screen component itself. We can do this using navigation.setOptions
/* Inside of render() of React class */
<Button
  title="Update the title"
  onPress={() => navigation.setOptions({ title: 'Updated!' })}
/>
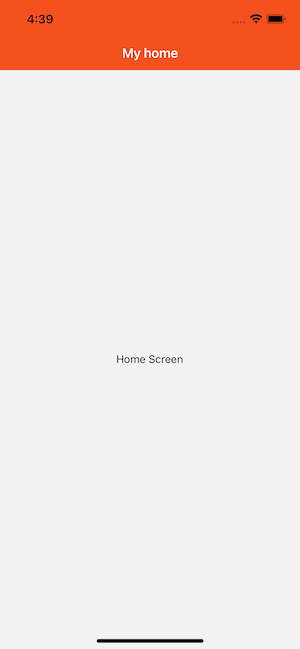
Adjusting header styles�
There are three key properties to use when customizing the style of your header: headerStyle, headerTintColor, and headerTitleStyle.
headerStyle: a style object that will be applied to theViewthat wraps the header. If you setbackgroundColoron it, that will be the color of your header.headerTintColor: the back button and title both use this property as their color. In the example below, we set the tint color to white (#fff) so the back button and the header title would be white.headerTitleStyle: if we want to customize thefontFamily,fontWeightand otherTextstyle properties for the title, we can use this to do it.
function StackScreen() {
  return (
    <Stack.Navigator>
      <Stack.Screen
        name="Home"
        component={HomeScreen}
        options={{
          title: 'My home',
          headerStyle: {
            backgroundColor: '#f4511e',
          },
          headerTintColor: '#fff',
          headerTitleStyle: {
            fontWeight: 'bold',
          },
        }}
      />
    </Stack.Navigator>
  );
}
There are a couple of things to notice here:
- On iOS, the status bar text and icons are black, and this doesn't look great over a dark-colored background. We won't discuss it here, but you should be sure to configure the status bar to fit with your screen colors as described in the status bar guide.
- The configuration we set only applies to the home screen; when we navigate to the details screen, the default styles are back. We'll look at how to share
optionsbetween screens now.
Sharing common options across screens
It is common to want to configure the header in a similar way across many screens. For example, your company brand color might be red and so you want the header background color to be red and tint color to be white. Conveniently, these are the colors we're using in our running example, and you'll notice that when you navigate to the DetailsScreen the colors go back to the defaults. Wouldn't it be awful if we had to copy the options header style properties from HomeScreen to DetailsScreen, and for every single screen component we use in our app? Thankfully, we do not. We can instead move the configuration up to the native stack navigator under the prop screenOptions.
function StackScreen() {
  return (
    <Stack.Navigator
      screenOptions={{
        headerStyle: {
          backgroundColor: '#f4511e',
        },
        headerTintColor: '#fff',
        headerTitleStyle: {
          fontWeight: 'bold',
        },
      }}
    >
      <Stack.Screen
        name="Home"
        component={HomeScreen}
        options={{ title: 'My home' }}
      />
    </Stack.Navigator>
  );
}
Now, any screen that belongs to the Stack.Navigator will have our wonderful branded styles. Surely though, there must be a way to override these options if we need to?
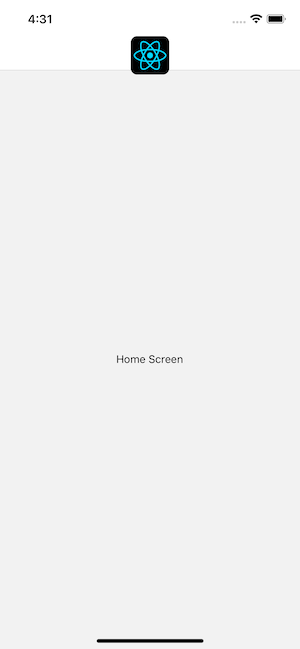
Replacing the title with a custom component
Sometimes you need more control than just changing the text and styles of your title -- for example, you may want to render an image in place of the title, or make the title into a button. In these cases you can completely override the component used for the title and provide your own.
custom header title componentfunction LogoTitle() {
return (
<Image
style={{ width: 50, height: 50 }}
source={require('@expo/snack-static/react-native-logo.png')}
/>
);
}
function StackScreen() {
return (
<Stack.Navigator>
<Stack.Screen
name="Home"
component={HomeScreen}
options={{ headerTitle: (props) => <LogoTitle {...props} /> }}
/>
</Stack.Navigator>
);
}
You might be wondering, why headerTitle when we provide a component and not title, like before? The reason is that headerTitle is a property that is specific to headers, whereas title will be used for tab bars, drawers etc. as well. The headerTitle defaults to a Text component that displays the title.
Additional configuration
You can read the full list of available options for screens inside of a native stack navigator in the createNativeStackNavigator reference.
Summary
- You can customize the header inside of the
optionsprop of your screen components. Read the full list of options in the API reference. - The
optionsprop can be an object or a function. When it is a function, it is provided with an object with thenavigationandrouteprop. - You can also specify shared
screenOptionsin the stack navigator configuration when you initialize it. The prop takes precedence over that configuration.